
find these shorts here |
these are the latest and greatest in the world of tumblr, and i have been looking all over for a pair that is reasonably priced. unfortunately i have looked without much luck, so i decided to make my own. i like to think of myself as a crafty person, but i'm really not, so when i saw ARose186's video on how she made her studded shorts i was in heaven!! through Arose186 aka Arden, i found the Etsy store PurpleDolly. PurpleDolly sells amazingly priced studs for diy projects, and i since i couldn't find studs for a better price i decided to go through PurpleDolly! I received my package of studs in less that a week, and as soon as i got them, i got to studding! as promised in yesterday's post, here is my diy..
step one:
gather your supplies!
all i needed were my jeans, studs, a pair of scissors (you can also you a small kitchen knife), and my computer for music.
THESE are the studs i used, but the store has tons of options! also, i didn't even use the whole bag, which included 200 studs
( another diy i think so;) )
( another diy i think so;) )
the back of the studs have little prongs, so with the scissors you push the prongs down once the studs are placed through the jeans. its pretty self explanatory once you have them in your possession though!

step two:
choose where you want your studs to be. the first place i put them was on the outside of the front left pocket. my personal style is very minimalistic and classic, so i wanted to stay true to myself when i made these jeans and not go too overboard!
the bottom picture is the finished look of this pocket!

step three:
choose another pocket that you would like to stud!
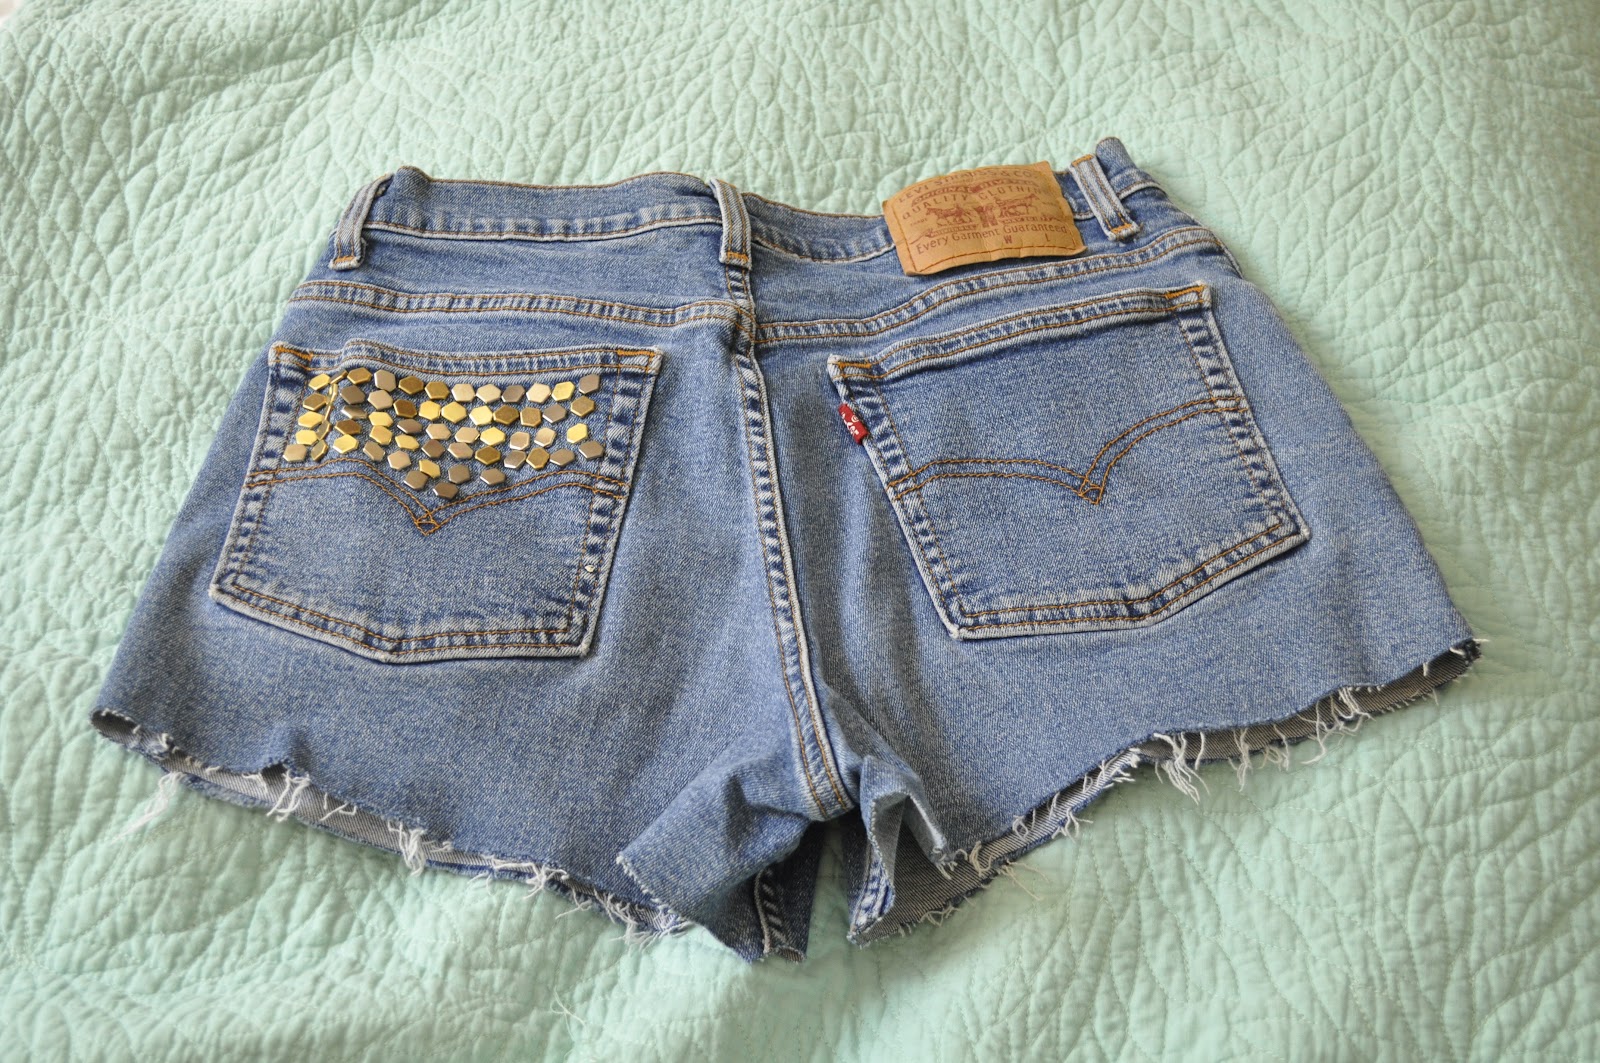
i chose the back left pocket, and decided to cover just the top half.
the top right picture below, shows what the inside of the shorts look like.

finished front look:
(i forgot to take pictures, but i also put studs in the right pocket, but i only put them above where the actual pocket starts)

finished back look:
thanks for reading, and if you would like to see more diys let me know!!
xo chloe
p.s. throughout the whole process i only managed to poke myself twice! quite an achievement on my part ;)

p.p.s. follow me on instagram and pinterest!!
my instagram username is seebychloe1
my pinterest name is chloe gordon
I think yours turned out better than the real ones! They look way cuter! Cool craft!!
ReplyDeletewww.citrusandstyle.blogspot.com
cYa
thanks, you're too sweet!!
Deletexo chloe
Those are so cute! They are perfect for summer!
ReplyDelete